


Send us an email
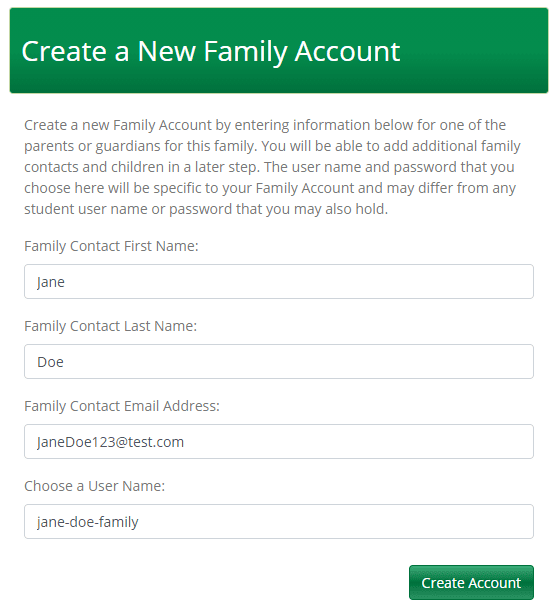
- Enter your information into the Create a New Family Account form and click Create Account.
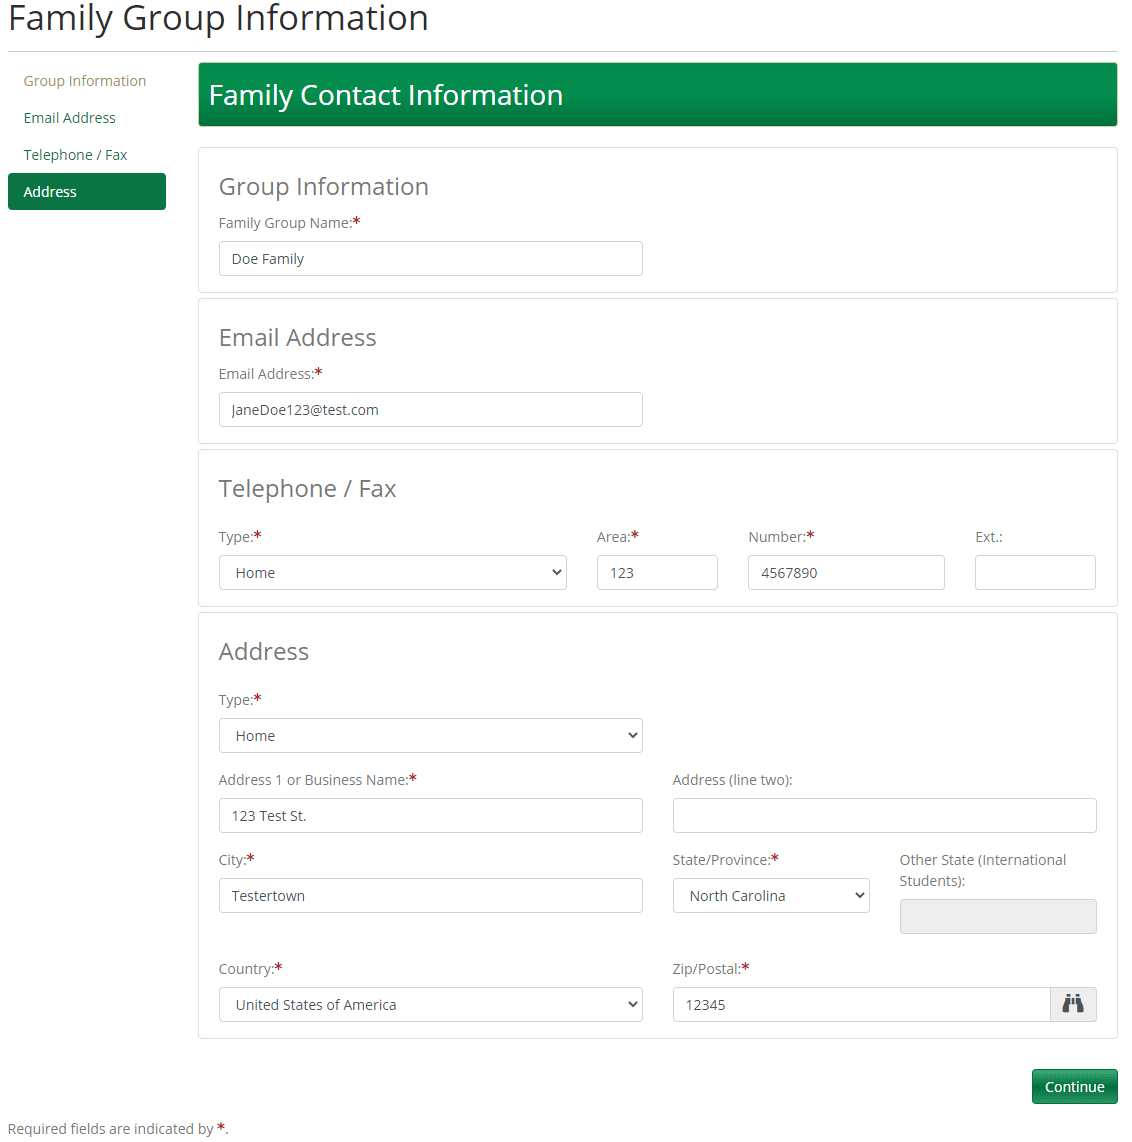
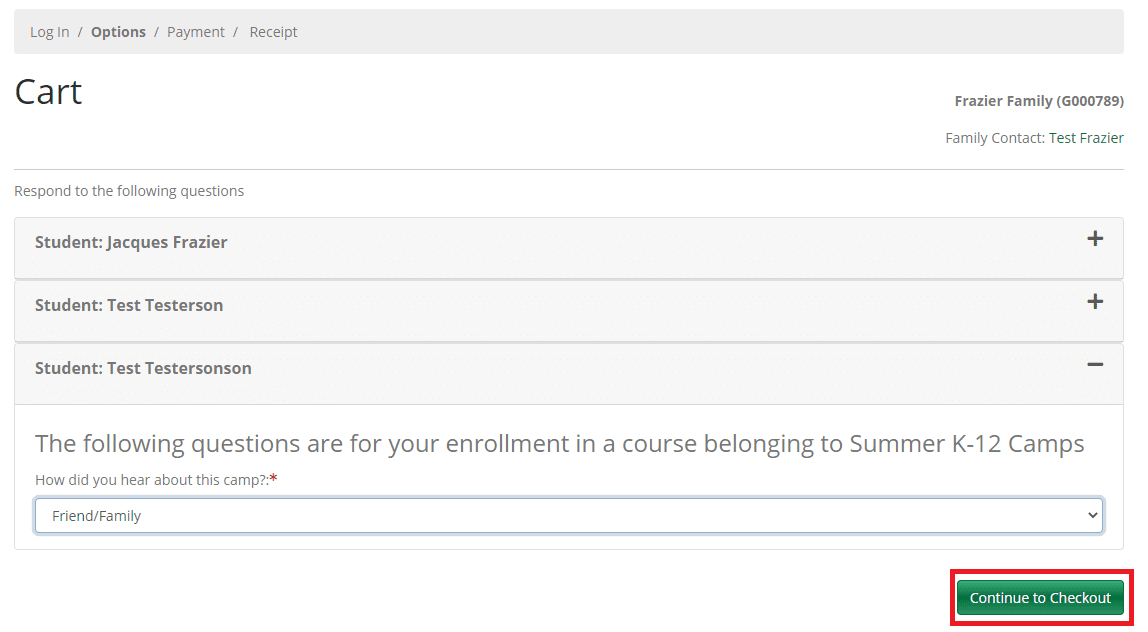
- On the next screen, enter your phone number and address. You can also change the family name if desired. Then click Continue.
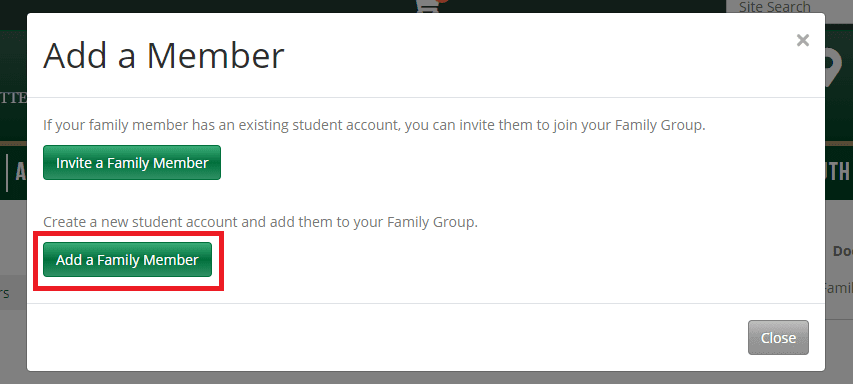
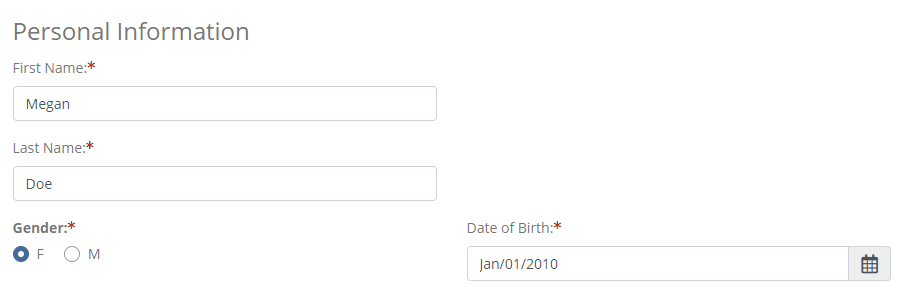
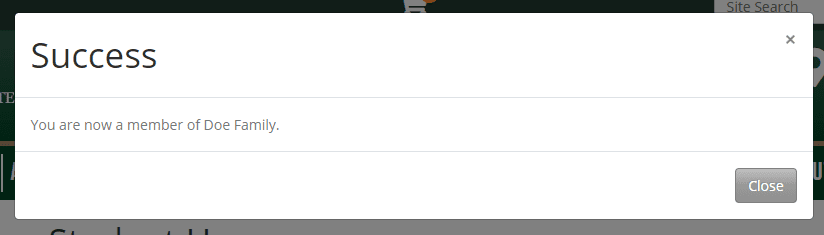
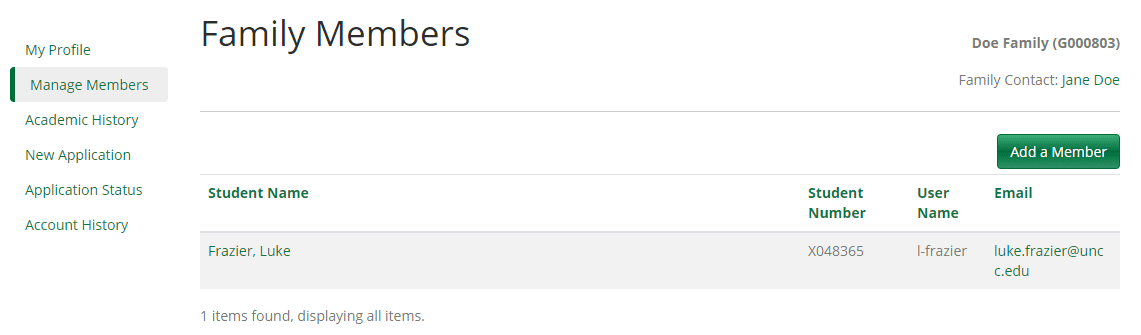
- Congratulations! At this point, you have created your family account. You will receive an email with your username and a link to set your password – simply click this and set your password to complete registration. Then you will be ready to add to your campers to your family account.
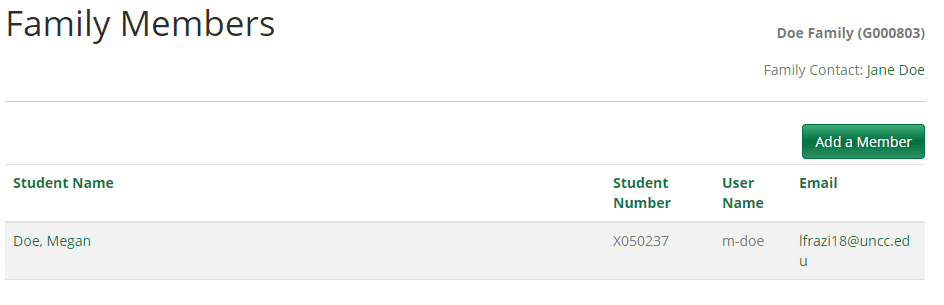
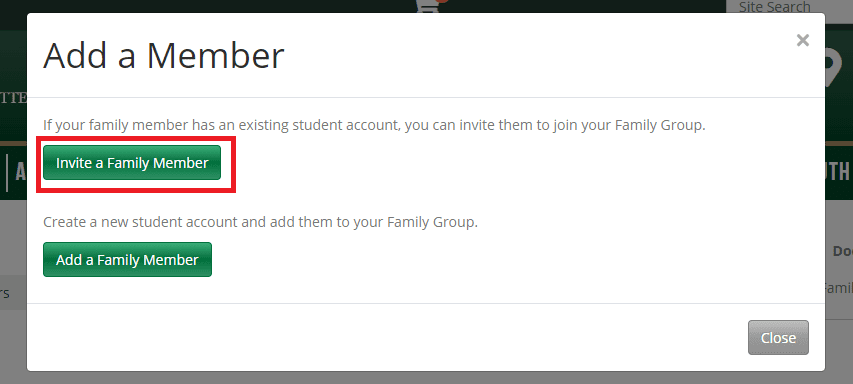
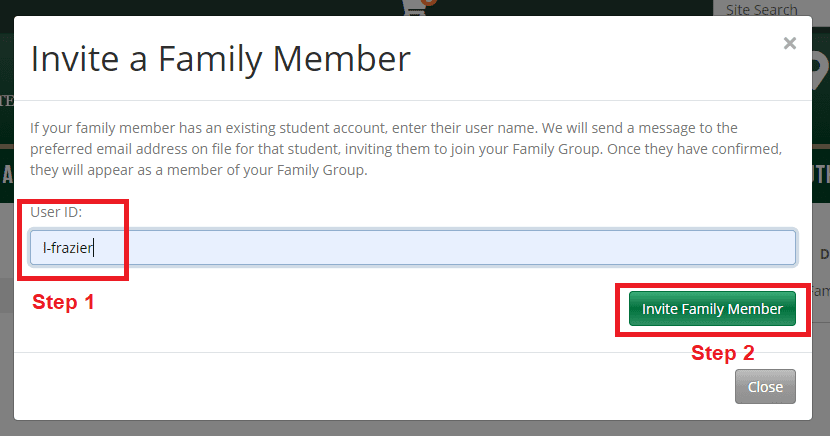
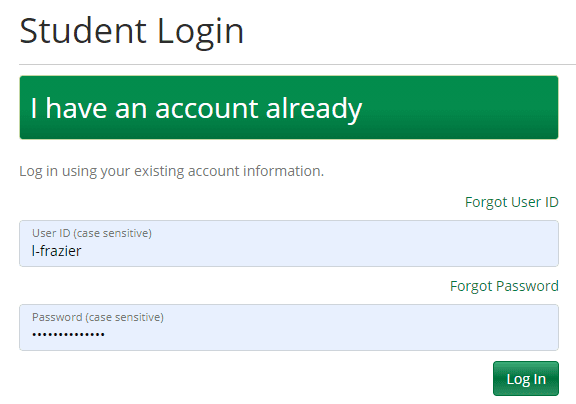
View Example Screenshots